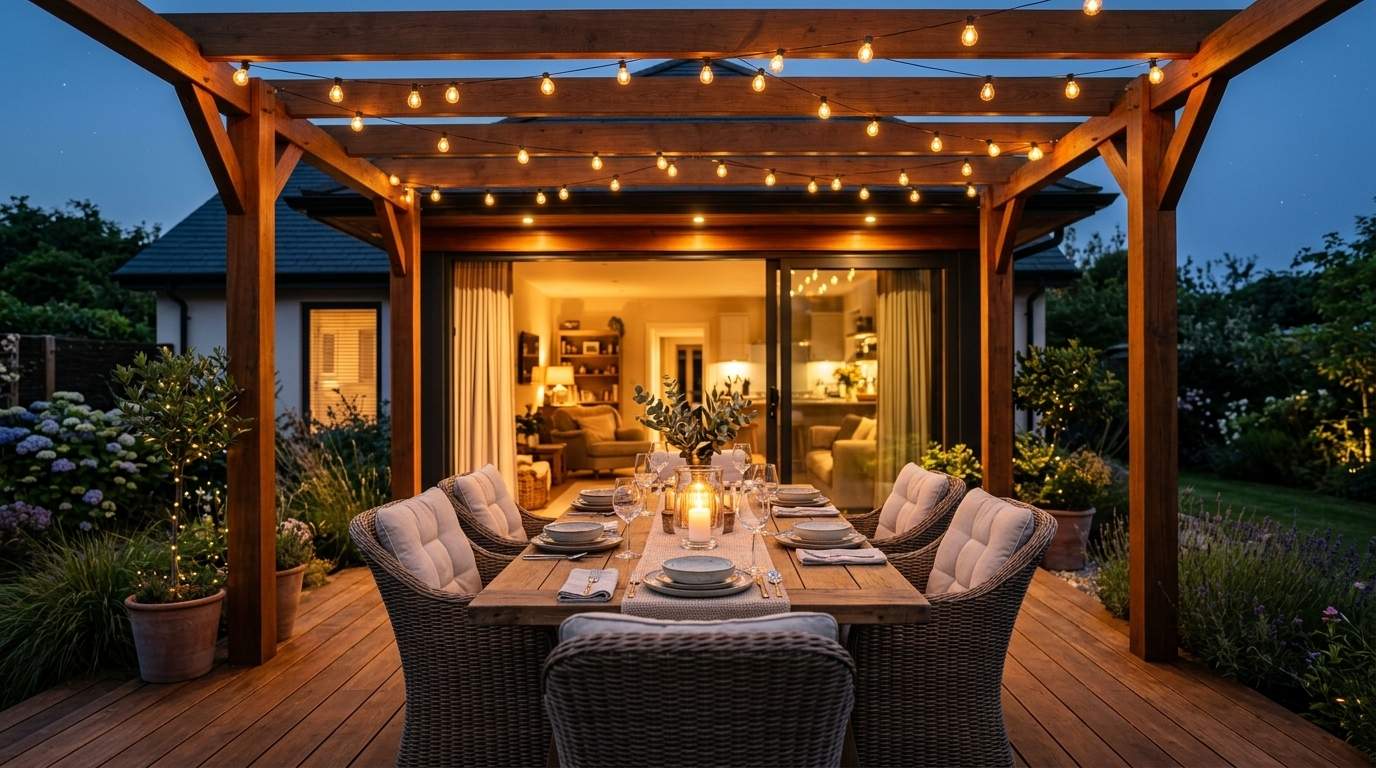
1. Why Pergola + Decking Especially Need Winter Design
Every spring, suburban Melbourne plays out the same scene. The neighbour’s back garden grows a pergola one weekend in November — timber roof beams, level decking, a clean tie-in to the kitchen sliding door — and it all looks as natural as if it had always been there. You decide to do the same, call a handful of local contractors, and the response is identical across all of them: “We’re full for spring. Earliest is February.”
The mistake is not the idea. It is the start date of the thinking. Pergola and decking projects involve structure, approvals, electrical and a material palette that does not get locked in one phone call. Their actual design window is the eight weeks of July and August — far enough ahead to settle brief, materials, building surveyor approval and contractor calendar before the spring build season starts. This article is for Melbourne homeowners planning a September-to-November pergola, decking or outdoor extension. Used well, the eight winter weeks leave the spring months for the build itself.
1. Why Pergola + Decking Especially Need Winter Design
Homeowners regularly underestimate the complexity. Visually a pergola looks like “a few posts and a timber roof”, but the actual work crosses many lines — structural stability, waterproofing detail at the house connection, electrical (if lighting or fans are involved), drainage (where stormwater off the decking goes), material choice (aluminium vs treated timber vs composite), and height tie-in with existing sliding or bi-fold doors.
The bigger point: any structural change, any attachment to an existing dwelling, or any structure above certain footprint or height thresholds will generally need a Building Surveyor assessment or a council building permit. Triggers vary by council and project size, but common ones include pergolas attached to the main dwelling, freestanding structures above a certain height or area, extensions that share stormwater with the existing roof, and structures close to a boundary. The authoritative source on this is the relevant council’s own website and a registered Building Surveyor — not a forum post.
Because the permit pathway alone usually needs two to four weeks of processing (longer in some councils heading into summer), back-calculating from a September start lands you in July. Right now.
2. Weeks 1-2: Site Assessment and Brief Skeleton
Don’t reach for materials yet. Build the skeleton of the brief first.
Position and orientation. Which side of the house? Melbourne sits south of the equator — winter sun comes from the north, summer sun arcs higher and more south. A pergola on the northern or north-western elevation blocks the worst summer afternoon heat while still letting the low winter northern sun through. An east or south pergola has weaker shading value but still delivers the outdoor-dining function and visual gain.
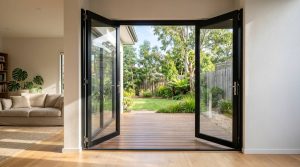
Tie-in to the existing dwelling. Freestanding, or attached? Where it attaches, how is the joint with the existing roof handled (the single biggest waterproofing risk)? Does it conflict with the swing or slide direction of existing sliding doors or bi-fold windows? What is the level difference between the decking surface and the indoor floor (Australian convention runs 50-150mm below the indoor level to make the transition step clear)?
Decking footprint vs pergola coverage. Often the decking extends a metre or so beyond the pergola, so the dining area can spill into sun on a fine day. Other briefs cover the whole decking under the pergola roof. The two layouts produce very different post locations, material quantities and budgets.
Functional brief. Who uses the space, when, for what? Saturday barbecues, morning yoga, kids’ play, evening drinks under the stars? Each maps to different details — barbecues need ventilation, yoga needs unobstructed clear width, kids’ play needs softened edges, evening use needs lighting and power. Thinking these through in winter saves around thirty per cent on cost compared with adding them as variations during the spring build.
By end of week two: a hand-sketched site plan, a draft function-and-dimensions list, and either a booked Building Surveyor consultation or a shortlist of surveyors to call.
3. Weeks 3-4: Materials — Aluminium, Treated Timber, Composite
Material choice is the most-revisited decision in the project. The Melbourne market offers three mainstream paths.
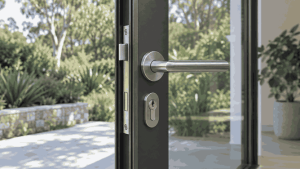
Aluminium pergola structure. Strong on durability, dimensional stability, no annual oil treatment, slim modern profile, visually consistent with glass and metal door systems. Cost is higher up front, and thermal performance under the roof depends on the panel detail. For a home already running a contemporary palette and aluminium sliding doors or heavy-duty folding doors, an aluminium pergola is the most visually coherent choice.
Treated timber pergola structure. Warm timber feel, better fit with traditional or brick-facade homes, lower initial material cost. Downsides are scheduled maintenance (re-oiling every two to three years is typical) and natural checking or warp over time. Common Australian options include H3-treated pine (best value), Merbau hardwood (dark, dimensionally stable), and Spotted Gum (native hardwood, beautiful grain).
Composite decking and composite roof systems. A growing category — wood flour pressed with recycled plastics, looks like timber, no oiling, no splintering, low colour fade. Initial cost typically sits between Merbau and aluminium. Summer surface temperatures run warmer than timber under direct sun (dark profiles especially — lighter or newer low-temperature reflective grades mitigate this).
Decking boards and pergola structure are often chosen separately — “aluminium pergola plus Merbau decking” is a common mix, as is “all aluminium” or “all treated timber”. Regardless of the combination, the substructure (joists and bearers) under the decking must be properly treated timber or galvanised steel of the right grade — this is structural, not the place to save money on untreated stock.
When selecting materials, looking at Melbourne Sunroom’s pergola and outdoor product range alongside the door systems treats the whole extension as one design — avoiding the situation where the pergola is built by one trade, the decking by another, and the door system by a third, leaving every joint and warranty boundary disputed. The integrated approach saves more downstream than it costs upstream.
4. Weeks 5-6: Building Surveyor, Council and Electrical Coordination
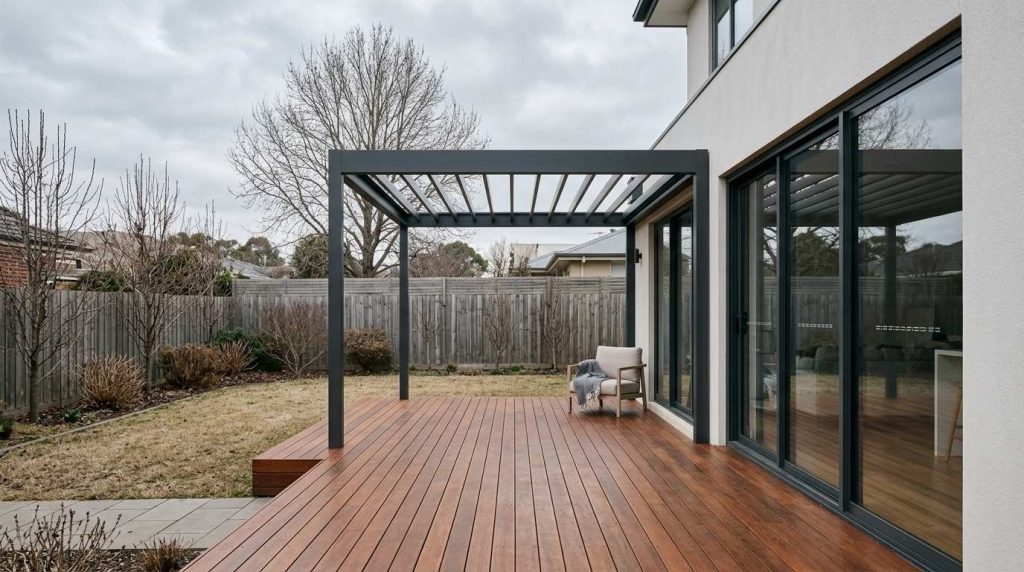
This is the most-underestimated stretch of the winter window — everything that involves waiting for someone else happens here.
Building Surveyor assessment. Attached pergolas, or freestanding ones above certain footprint or height thresholds, generally need a Building Surveyor assessment or a building permit. The surveyor looks at structural adequacy, wind loading, connection detail, waterproofing, setback from boundaries, and impact on neighbouring buildings. Processing time runs two to four weeks for typical residential projects, longer for complex ones.
Council building permit. Where the surveyor’s assessment indicates a permit is needed, council processing time follows on top (commonly 10-20 working days). Adding the two together is exactly why this work starts in winter. For a September build, permit lodgement should be late July to early August.
For structural and extension-related compliance, the relevant references are the current edition of the National Construction Code (NCC) and the residential energy and extension guidance published by Sustainability Victoria.
Electrical coordination. Pergolas with lighting, fans, outdoor kitchen power or heaters need work by a registered electrician — cabling, weatherproof outlets, earth protection. Booking the electrician in winter beats finding one available mid-build in spring.
Tie-in with existing doors and windows. Where the pergola covers the swing or slide arc of existing sliding doors, folding doors or tilt sliding windows, confirm that pergola posts do not block door travel, decking height does not bind sliding door bottom tracks, and the pergola roof does not block the upward opening arc of a bi-fold window. These “small but fatal” conflicts are best resolved by one designer holding the whole brief in their head before any concrete is poured.
5. Weeks 7-8: Contractor Calendar, Payment Schedule, Build Sequence
The final two weeks deal with the contractor.
Take two to three quotes for comparison. A proper residential pergola plus decking quote should cover: site assessment, excavation labour (post footings typically need concrete pour, high wind-load zones need deeper footings), structural material schedule (posts, beams, rafters, roof panels — brand, model, quantity, unit price), decking board and substructure schedule, fixings (bolts, treated hardware), electrical sub-trade hours, permit fees (if lodged on the owner’s behalf), waste removal, payment milestones, build duration, and warranty.
The build sequence is typically: site clear and footing excavation → footing concrete pour and cure (72 hours) → post erection → beam and rafter install → roof panels and covering → decking substructure → decking boards → electrical connection → final surveyor inspection. A 10×4 metre mid-sized pergola plus decking project runs about three to five weeks once on site.
Build calendars are not absolute commitments. Weather, previous job overruns, end-of-winter rain, permit processing speed can all move dates by a week or two. The advantage of locking the calendar in winter is not just securing a slot — it is having room to negotiate a flexible window with the contractor, which spring does not offer.
6. Energy and VEU — Defer the Eligibility Question to the Year of Application
Energy rebate eligibility on outdoor extensions is a moving target. The Victorian Energy Upgrades (VEU) program eligibility list and discount amounts are updated periodically — this article deliberately does not quote specific rebate figures, because they go stale quickly. Where a pergola or decking project is combined with upgrades to the existing dwelling’s door and window systems (such as a double-glazing upgrade, or replacement of older aluminium frames), VEU may apply for certain product categories, but the specific item, the specific model, and the available discount must be confirmed against the current eligibility list on the official Victorian Energy Upgrades page at the time of application.
Similarly, energy ratings and window system performance data should be confirmed against the manufacturer’s published Window Energy Rating Scheme (WERS) testing — not from word-of-mouth claims of “very energy efficient”.
7. Turning the Quiet Winter Into the Biggest Spring Head Start
By the end of August, the ideal state is: brief settled, materials ordered, permit in process, contractor calendar locked, electrician booked, pergola tie-in with existing doors confirmed, decking substructure grade verified.
First week of September, the contractor walks on. What is left is execution.
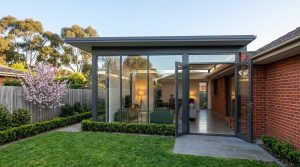
Melbourne Sunroom operates a Point Cook showroom by appointment — visiting in winter is far calmer than queuing for attention in spring. Browse sunroom, sunroom extensions and other outdoor products together, so a pergola-plus-decking project can be considered alongside any future sunroom extension as part of a single long-term plan.
To book a consultation or submit a brief, use the contact page.
All structural thresholds, permit triggers, energy rebate eligibility points and build duration estimates in this article are general planning references. Specific projects should be confirmed against the relevant council’s rules, a registered Building Surveyor’s judgment, the manufacturer’s published technical data, and the current published rules of VEU and WERS at the time of application.